Let’s create WebAR Content 2/3
2. Creation of AR contents
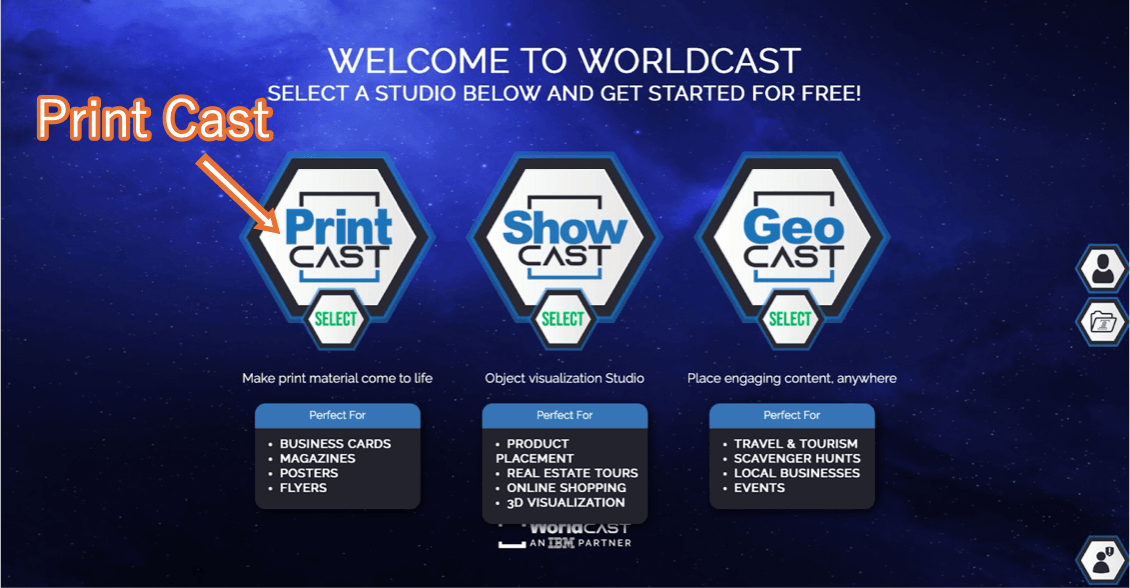
Now let’s start creating content. As shown in the screenshot below, World CAST allows you to create three types of AR. In this article, we will show you how to use Print CAST, an image recognition type AR that works on most devices such as smartphones and PCs and can be tried right in your own room.
| type | summary |
|---|---|
| Print CAST | Recognizes images as landmarks and displays CG on them |
| Show CAST | Display CG in the space you are in, without using markers |
| Geo CAST | Displays location-based information using GPS |
2.1 Marker Image Registration
First, let’s register a marker image that will trigger the display of CG.
(1) Click on Print CAST
(2) Watch the tutorial video as it plays, or fast forward to the end of the video.
(3) When the seek bar of the video reaches the end, the CLOSE button becomes clickable, so click on it
(4) The screen changes to one that says GIVE YOUR CAST A NAME
(5) Enter the name of the AR content to be created and click NEXT Example: AR TEST
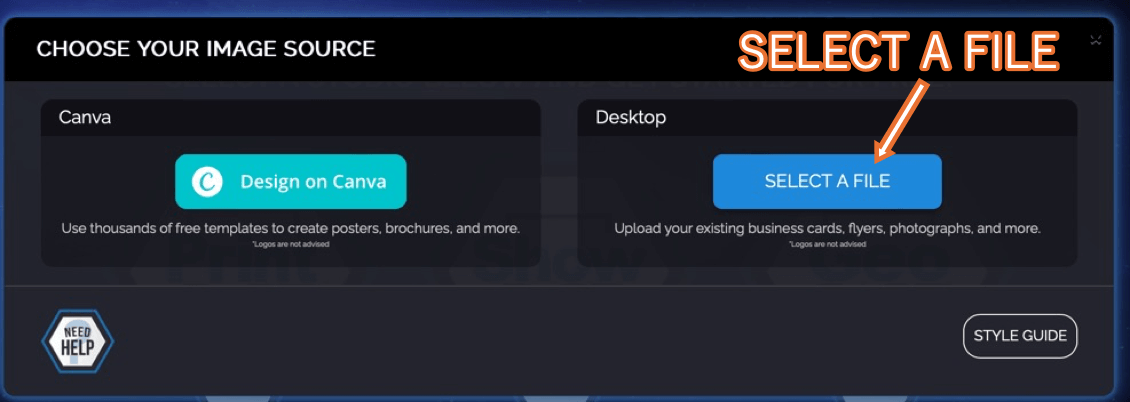
(6) The screen changes to a screen asking you to select how to register the marker image as shown below
(7) Click SELECT A FILE in the frame marked “Desktop” to upload the image.
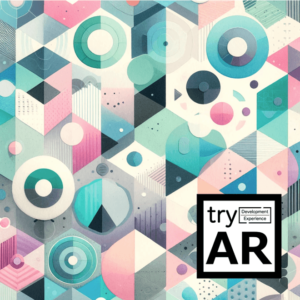
Marker image to be used in this project
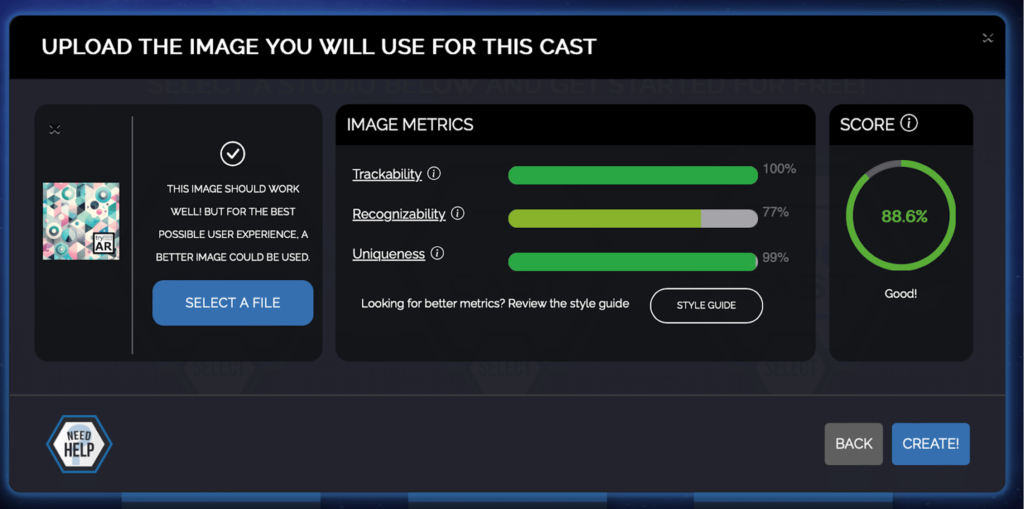
(8) The evaluation result of whether the uploaded image is suitable for AR experience or not is displayed
*All green is more suitable for AR experience as it is easier to be recognized by the camera.
(9) Click the CREATE button at the bottom right of the screen
When the marker is successfully registered, the 3D editor will appear as shown below. You can use the mouse to change the viewpoint.

2.2 Registering Display Contents
Next, register the object to be displayed above the marker. To register an object, click on the button on the left side of the screen.
There are seven types of objects that can be added: images, text, 360-degree images, audio, video, 3D models owned by the user, and 3D models registered in Sketchfab. This article introduces the procedure for registering your own 3D model as an example, but other objects can be registered in the same way.
In this article, I will use the scan data of my cat, which is copyright-free. [Download Link]
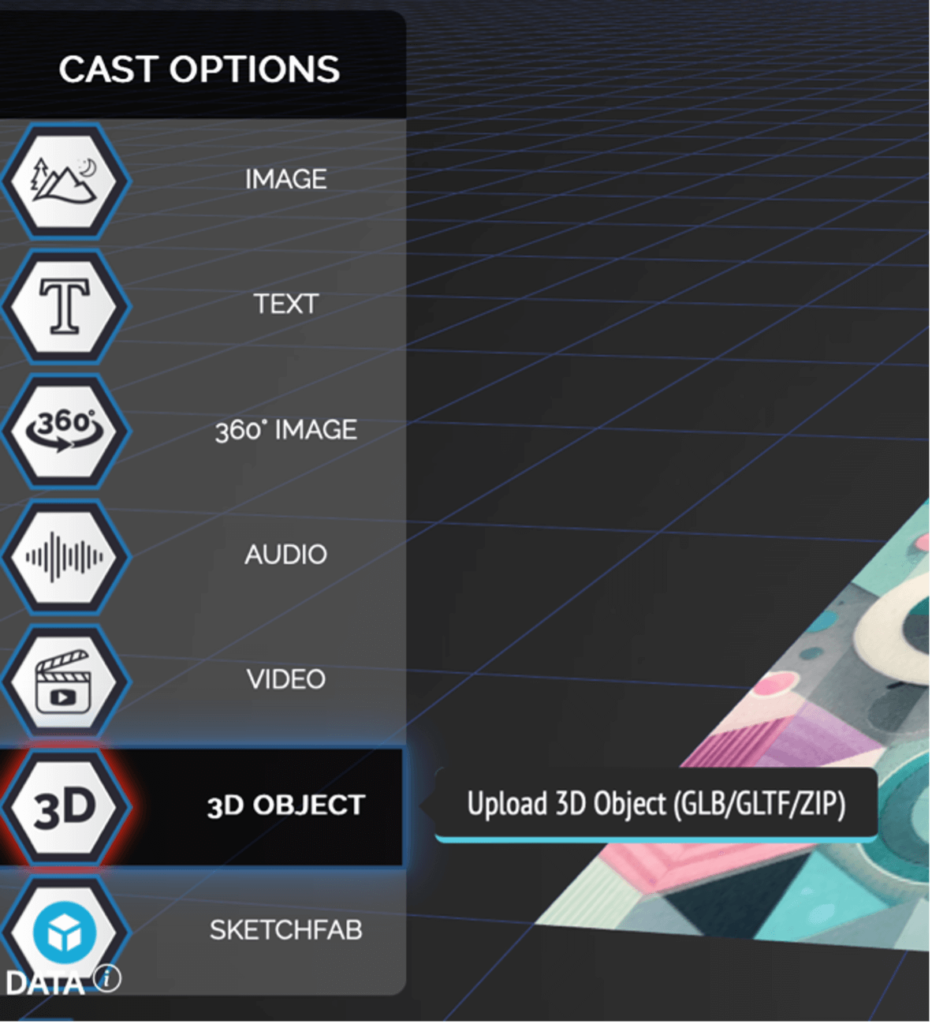
(1) Click the 3D button on the left side of the screen
(2) Click Select A FILE…
(3) Upload 3D model
* World CAST supports GLB or GLTF format models under 100MB
(4)Finally, click the UPLOAD 3D OBJECT button
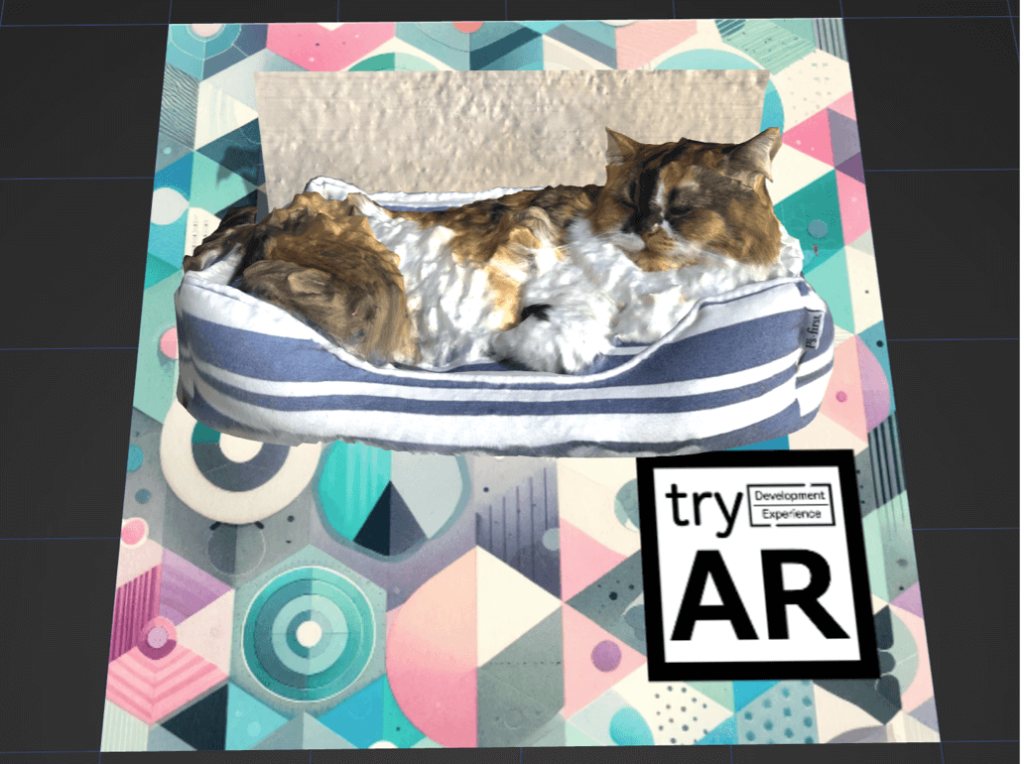
If the upload is successful, a 3D model will be displayed in the center of the marker image as shown in the figure below. 3D model shading may look a little harsh, but this is not a problem as it will look beautiful when actually experienced in AR.
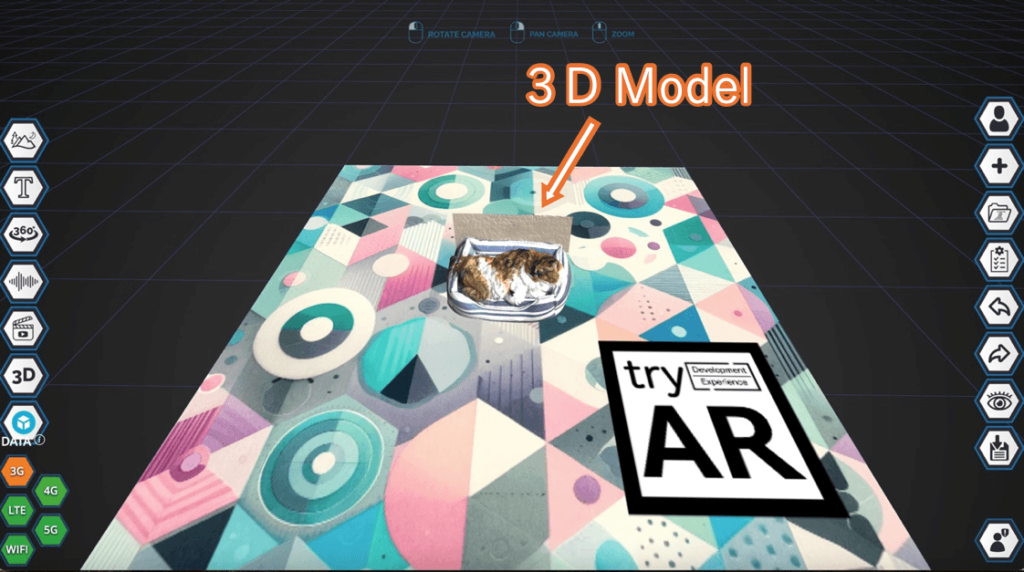
Axes appear immediately after the 3D model is added or when an object is clicked. By manipulating these axes, the position, angle, and size can be changed.
| Subject to change | operation |
|---|---|
| position | Drag a shaft with a pointed tip |
| angle | Drag the red, green, and blue rings |
| Size | Drag the yellow ring |
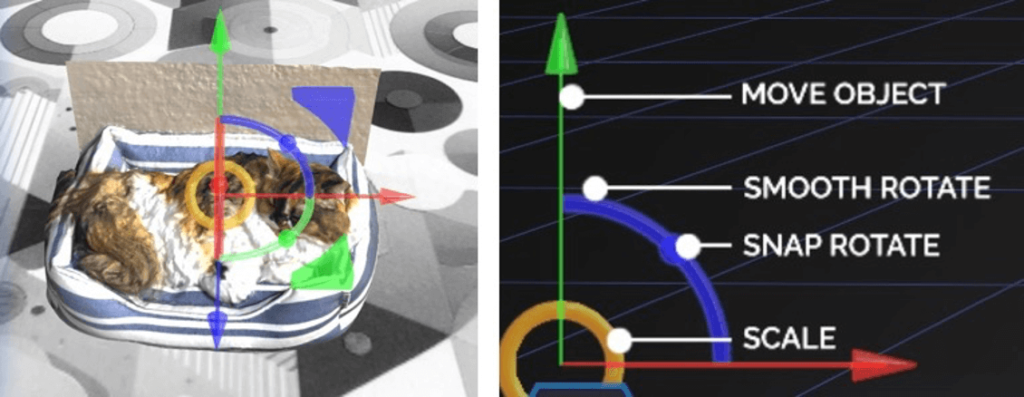
We will use these operations to give the 3D object a nice look. In this case, the size of the 3D model was a little small, so we enlarged it and changed its orientation.
2.3 Publishing Content
Publish the AR content created here and actually experience it on your smartphone or PC.
(1) Click the SAVE button at the bottom right of the screen

(2) When asked “READY TO PUBLISH?”, click SAVE AND PUBLISH.
(3)After that, you will be asked whether you want to use the free version or the paid version.
(4) Click Check Out
(5) A QR code and URL will be issued, so open the link on your PC or smartphone
(6) Follow the on-screen guide and shoot the marker to experience AR
If the AR content is successfully loaded, a 3D object will appear on top of the marker image when the phone is held up to it, as shown in the figure below.
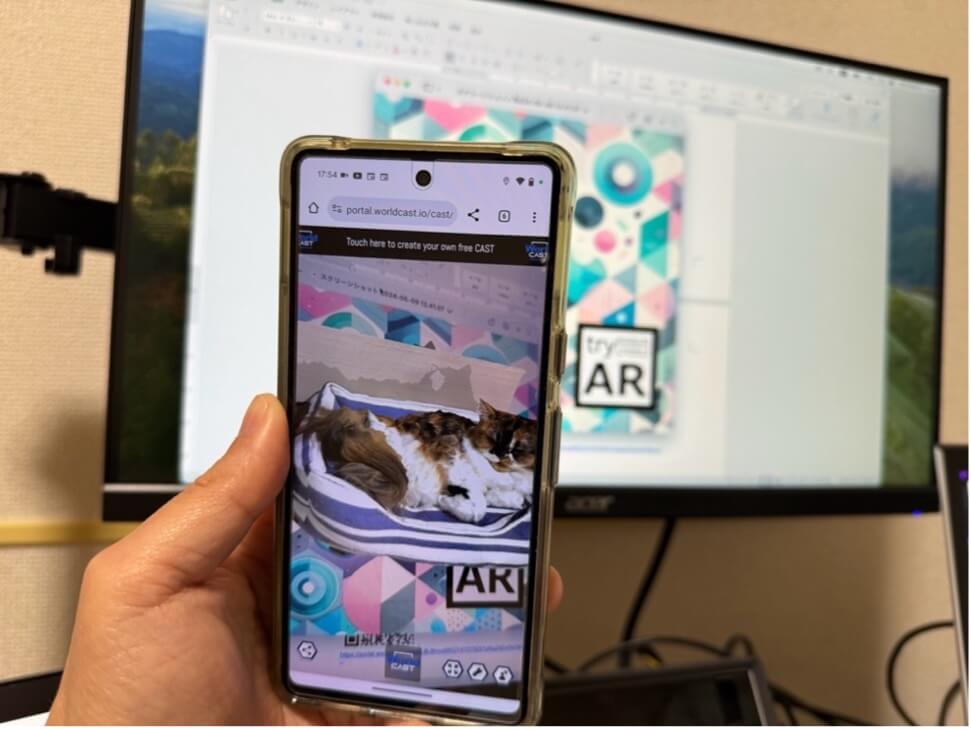
The contents introduced in this article can also be experienced through the links below, so please try them out if you are interested!

https://portal.worldcast.io/cast/wepoAgkEGbqW2rLNozQY8JlORVyQm3MZ5dvn/
>> to be continued